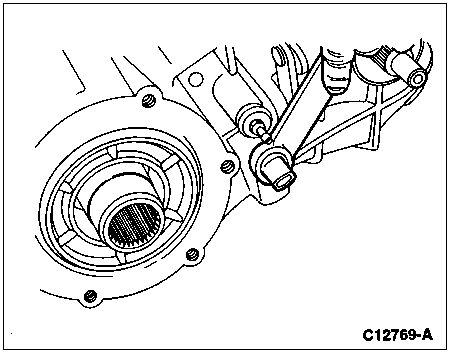
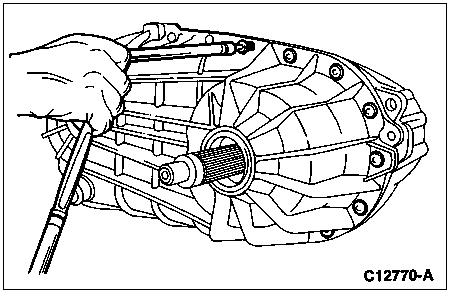
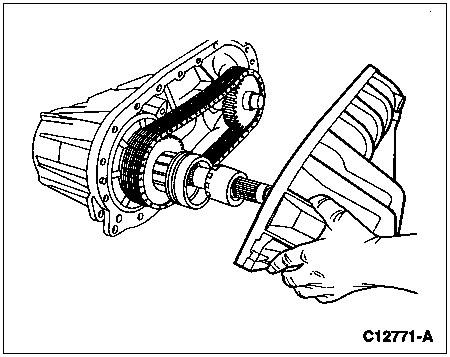
Remove transfer case (7A195) from vehicle. Refer to Transfer Case procedure in the Removal and Installation portion of this section.
Transfer Case, Manual Shift, 44-07
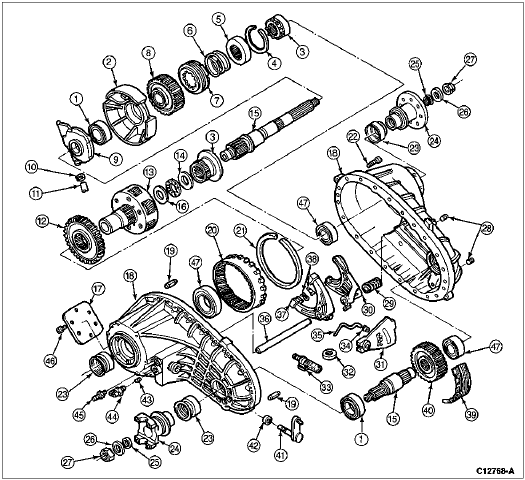
| Item | Part Number | Description |
|---|---|---|
| 1 | 7N430 | Bearing |
| 2 | 7085 | Bearing Retainer |
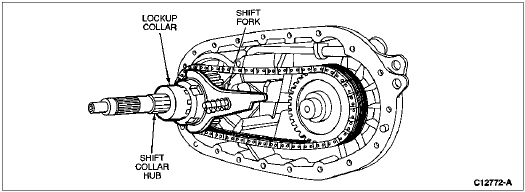
| 3 | 7100 | Shift Collar Hub |
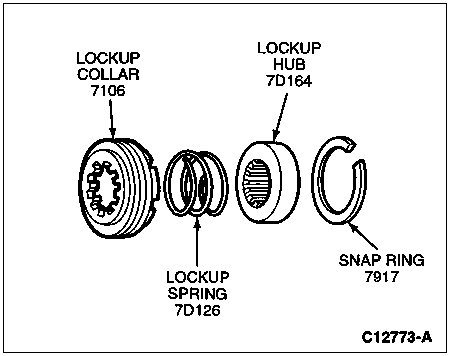
| 4 | 7917 | Snap Ring |
| 5 | 7D164 | Lockup Hub |
| 6 | 7D126 | Lockup Spring |
| 7 | 7106 | Lockup Collar |
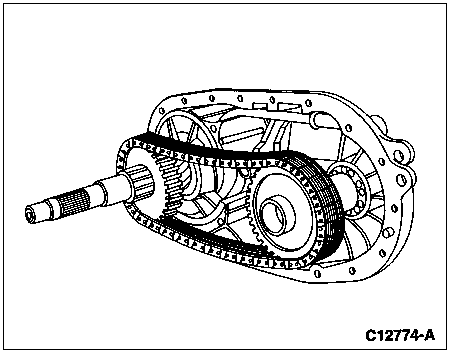
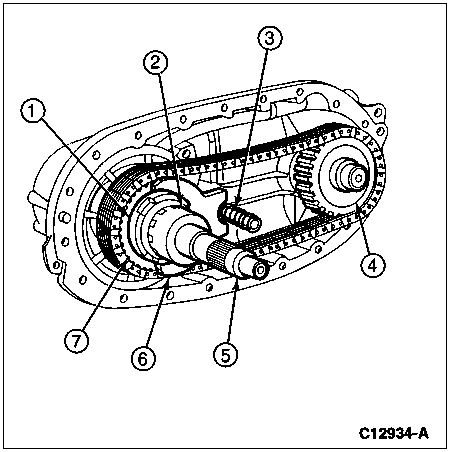
| 8 | 7177 | Drive Sprocket |
| 9 | 7A149 | Oil Pump |
| 10 | 382486-S | Clamp, Hose |
| 11 | 7A210 | Coupling Hose |
| 12 | Ś | Gear (with PTO Only) |
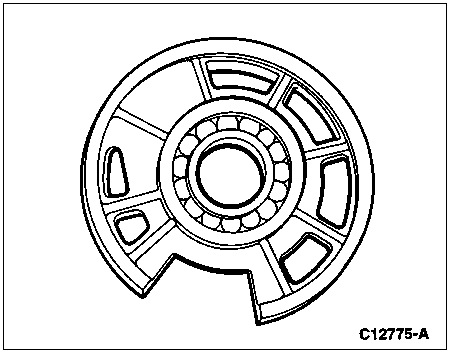
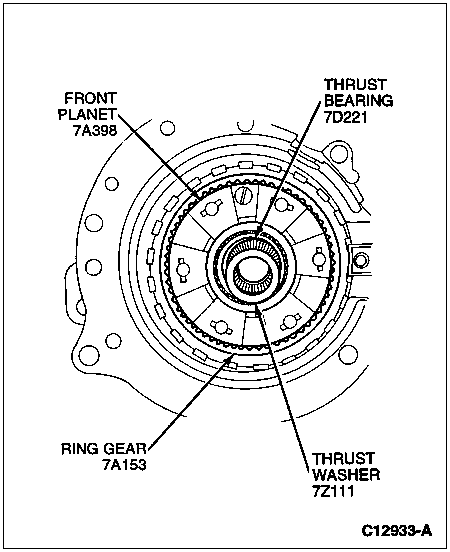
| 13 | 7A398 | Front Planet |
| 14 | 7Z111 | Thrust Washer |
| 15 | 7061 | Output Shaft |
| 16 | 7D221 | Thrust Bearing |
| 17 | 7165 | Transfer Case Cover (with PTO Only) |
| 18 | 7005 | Case |
| 19 | Ś | Pin Dowel (Part of 7005) |
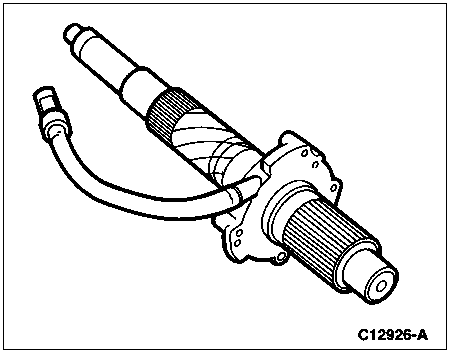
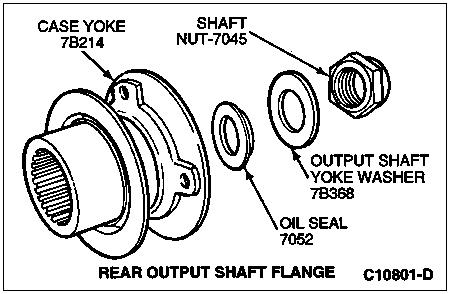
| 20 | 7A153 | Ring Gear |
| 21 | 7064 | Snap Ring |
| 22 | 7A443 | Bolt |
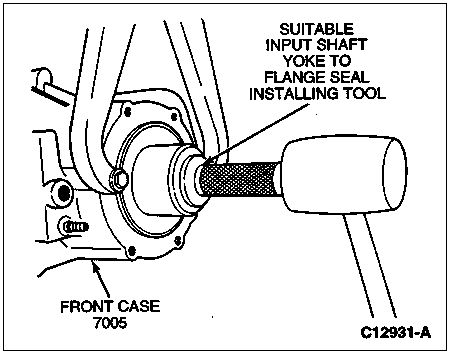
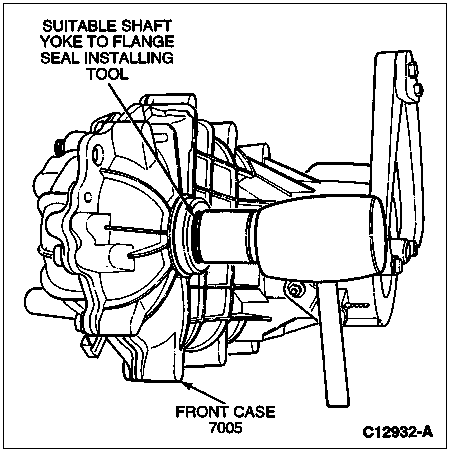
| 23 | 7B215 | Yoke to Flange Seal |
| 24 | 7B214 | Case Yoke |
| 25 | 7052 | Oil Seal |
| 26 | 7B368 | Output Shaft Yoke Washer |
| 27 | 7045 | Shaft Nut |
| 28 | 7A010 | Case Plug |
| 29 | 7219 | Reverse Kick Down Spring |
| 30 | 7289 | Fork, Shift, 2WD-4WD |
| 31 | 7F063 | Shift Cam |
| 32 | 7L027 | Oil Pan Magnet |
| 33 | 7A098 | Pickup Tube |
| 34 | 7C191 | Bushing, Detent |
| 35 | 7C349 | Spring, Detent |
| 36 | 7240 | Shift Rail |
| 37 | Ś | Fork, Reduction (Part of 7289) |
| 38 | 7C430 | Shift Fork Facing |
| 39 | 7A029 | Drive Chain |
| 40 | 7177 | Driven Sprocket |
| 41 | 7B106 | Shaft and Pin Lever |
| 42 | 7288 | Shifter Shaft Seal |
| 43 | Ś | Setscrew (Part of 7E440) |
| 44 | 7E440 | 4WD Indicator Switch |
| 45 | 7034 | Vent |
| 46 | 381673-S | Bolt (with PTO Only) |
| 47 | 7025 | Bearing |